The vinyl flooring is beautiful. However, installing it can be a difficult task. If you have no experience installing the vinyl floors in the past, it is best that you leave the work to an expert. However, if you are considering taking on the installation, you have come to the right place as this post provides all the information you need to take on the project.
HH Floor Sanding Perth offers an affordable flooring option. Thus, it has become extremely popular throughout Perth and most of Australia. This has resulted in a surge in demand for floor sanding in Perth.
The thing about vinyl flooring is that it is made from a combination of synthetic materials such as chlorine, ethylene, dyes, fiberglass, felt, and vinyl. What makes it a great option is the fact that it allows for quick cleaning and easy maintenance.
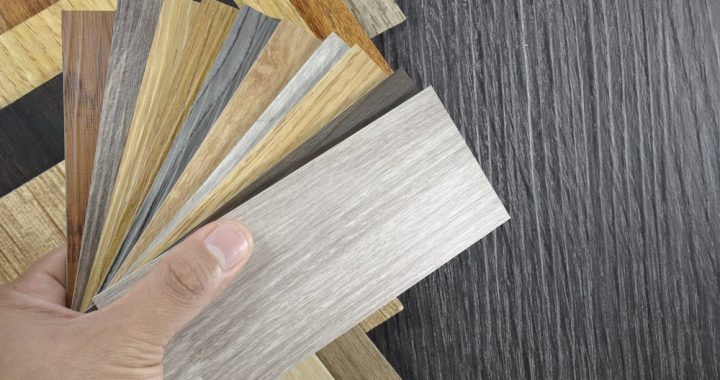
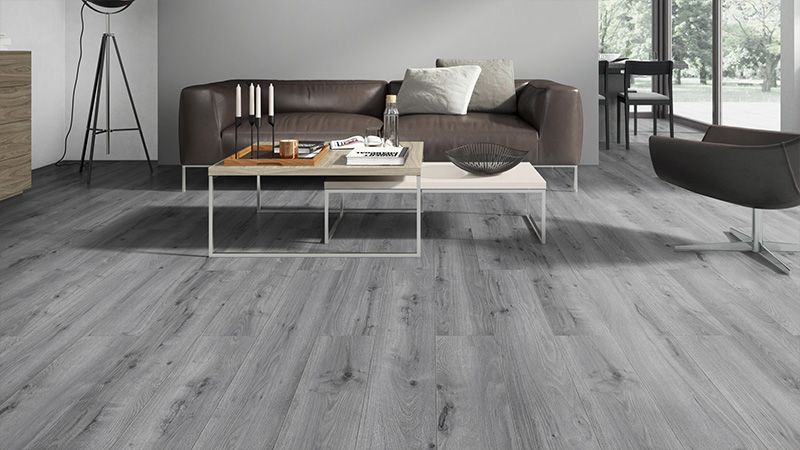
Besides, it tends to be waterproof. Vinyl is available in plank, tile, and sheet form. You can browse through a variety of patterns and colors to determine the best fit for your home or office. In fact, you can even get tiles that mimic hardwood or stone tile. If you consider yourself a handy individual, you can try to install the vinyl flooring on your own.
How Vinyl Flooring Is Made?
Before we cover the steps for installing vinyl flooring, it is important to know what it is made of. Understanding its intricacies will allow you to proceed in the right direction. Every vinyl floor consists of 3 components which include a protective layer, vinyl foam, and felt paper. There might be inhibitors applied in the case of textured vinyl planks.
Polyvinyl chloride resins (PVC) is added to calcium carbonate and white pigments are added to each plank. Then, plasticizers are added to make the flooring much more flexible. To prevent mold, fungicide is also tossed into the equation. As for UV stabilizers, they would be added to ensure that the floor does not fade.
Lastly, a blowing agent would be added. It is later activated during the creation process to ensure that the vinyl foam inflates. After the materials have been well-blended, a felt backing or paper would be added. It would be made using calcium carbonate or wood pulp. Then, the material is placed in an oven to gel the vinyl foam.

Next, the vinyl flooring would move on to the design phase. The print would be directly pressed onto the vinyl foam for adding a decorative touch. Then, the protective layer would be applied and the vinyl foam would be sent back to the oven. Chemical embossing might be required if the plank needs texture. The vinyl flooring would be finally inspected for quality before it is processed for retail.
Tools
Installing vinyl flooring requires various tools according to timber floor sanding Perth as mentioned below.
- Handsaw
- Tape Measure
- Utility Knife
- Steel Hand Roller
- Fine-Notched Trowel
- Putty Knife
Materials
Next, you will require the following materials to install vinyl flooring.
- Builder’s Craft Paper
- Patching Compound
- Adhesive
- Vinyl Flooring
- Plywood
- Masking Tape
How Long Does It Take To Install Vinyl Flooring?
If you are considering taking on the vinyl flooring installation project, chances are that you are wondering how long it would take to get the job done. On average, it takes about 2 days to properly install vinyl flooring. However, a vinyl floor polish service provider will take care of the work in a shorter period of time.
Steps to Install Vinyl Flooring
The following steps will help you install vinyl flooring in no time.
Make a Sketch of the Room
The first thing that you need to do when you decide to install vinyl flooring is making a sketch of each room that you plan on adding vinyl flooring too. You must accurately measure the dimensions of the room. Then, you need to bring the drawing to the vinyl retail store or the manufacturer’s showroom. It is always best to add a few inches to each room to ensure that you have extra material in case you need it.
Make the Subfloor Smooth and Flat
Next, you have to make the subfloor smooth and flat. You can check to make sure that the subfloor is in excellent condition. The subfloor has to be flat and smooth so that you can proceed. For the concrete subfloors, you will need to fill low-lying areas or holes using a patching compound. It is best that you mix the compound with some water to achieve consistency.
Then, you can spread it out using a small trowel. After this, you should let the area dry for around an hour or so. You also have to remove the shoe molding while you patch the compound as it dries. Once you are done with this, you will need to do a final clean-up. It will help ensure that the floor surface is perfectly clean.
Cut Vinyl Flooring
Now, you must lay out the vinyl flooring and mark the area where the excess would be cut. Use heavy-duty shears or a utility knife to cut out the excess. It is wise to save the excess vinyl flooring so that you can utilize it in the small bathroom, laundry room, or closet. A pro tip to consider is using masking tape for reinforcing the corners that have been cut. It will help keep the corner protected from tearing.
Lay the Vinyl Flooring
Next, you can proceed with laying the flooring in the desired position. There should be sufficient excess vinyl flooring around each wall. As for the obstructions, you should make relief cuts. Cut small half-circles for the inside corner until the vinyl lies perfectly flat on the floor. Make straight relief cuts for the outside corner.
Roll out the Craft Paper
As you proceed, you would need to roll out the back of the vinyl flooring right next to the wall for exposing the subfloor. Roll out the craft paper to create a partial template along the length of the wall. A pro tip that you need to consider is getting single sheets that you can tape together.
Apply Double Stick Tape
You must line up the craft paper towards the edge of the wall and tape the paper towards the floor using small pieces of masking tapes. The small pieces should be about 2 feet. It will help prevent the craft paper from moving onto the floor. Besides this, you also need to use double-stick tape and remove the backing.
Roll Back Vinyl
To hold the vinyl onto the template, you will need to roll back the vinyl into the right position. Lift the vinyl gently to reveal the template. The vinyl should be cut where the outer edge of the paper is located. The process is rather simple and it barely takes any time.
Cut the Vinyl
Use a protective piece of scrap wood and a straightedge as you carefully cut the vinyl along the edge. The process has to be repeated about 6 to 8 times along each wall of the room. Thus, the vinyl will go into the final position and you will have to trim it accordingly.
Spread Adhesive Material
When it comes to perimeter adhesion, it is best that you spread the adhesive material. Open up the adhesive material and use a fine-notched trowel to spread it along the wall at around 6 inches.
Attach the Flooring onto the Adhesive
Next, all you have to do is attach the flooring onto the adhesive. You will need to lay the vinyl into the right position and utilize a block of wood wrapper in cloth or a hand roller for seal the flooring. The wood wrapped in a cloth does a great job.
Replace the Shoe Molding and Trim
The next step is rather simple, you just have to replace the shoe molding and trim along each wall of the room.
Place the Furniture
Now that the work is done, you should be able to place the furniture in its place. You must make sure that the adhesion has properly dried before moving back the furniture. Use four sheets of 1/9 plywood or any similar material for sliding the furniture along the floor.
Clean the Vinyl Flooring
Lastly, you have to do the cleaning. It is rather simple. Use a damp mop and some no-rinse cleaner and sweep the floor from time to time. That is about it.
Conclusion
Once you have gone over the post, you will know everything there is to know about installing vinyl flooring sanding in Perth. It is important that you seek professional help, especially if you have a huge home as the task can be extremely taxing. There is a reason why people turn to the experts for taking care of the vinyl flooring installation.
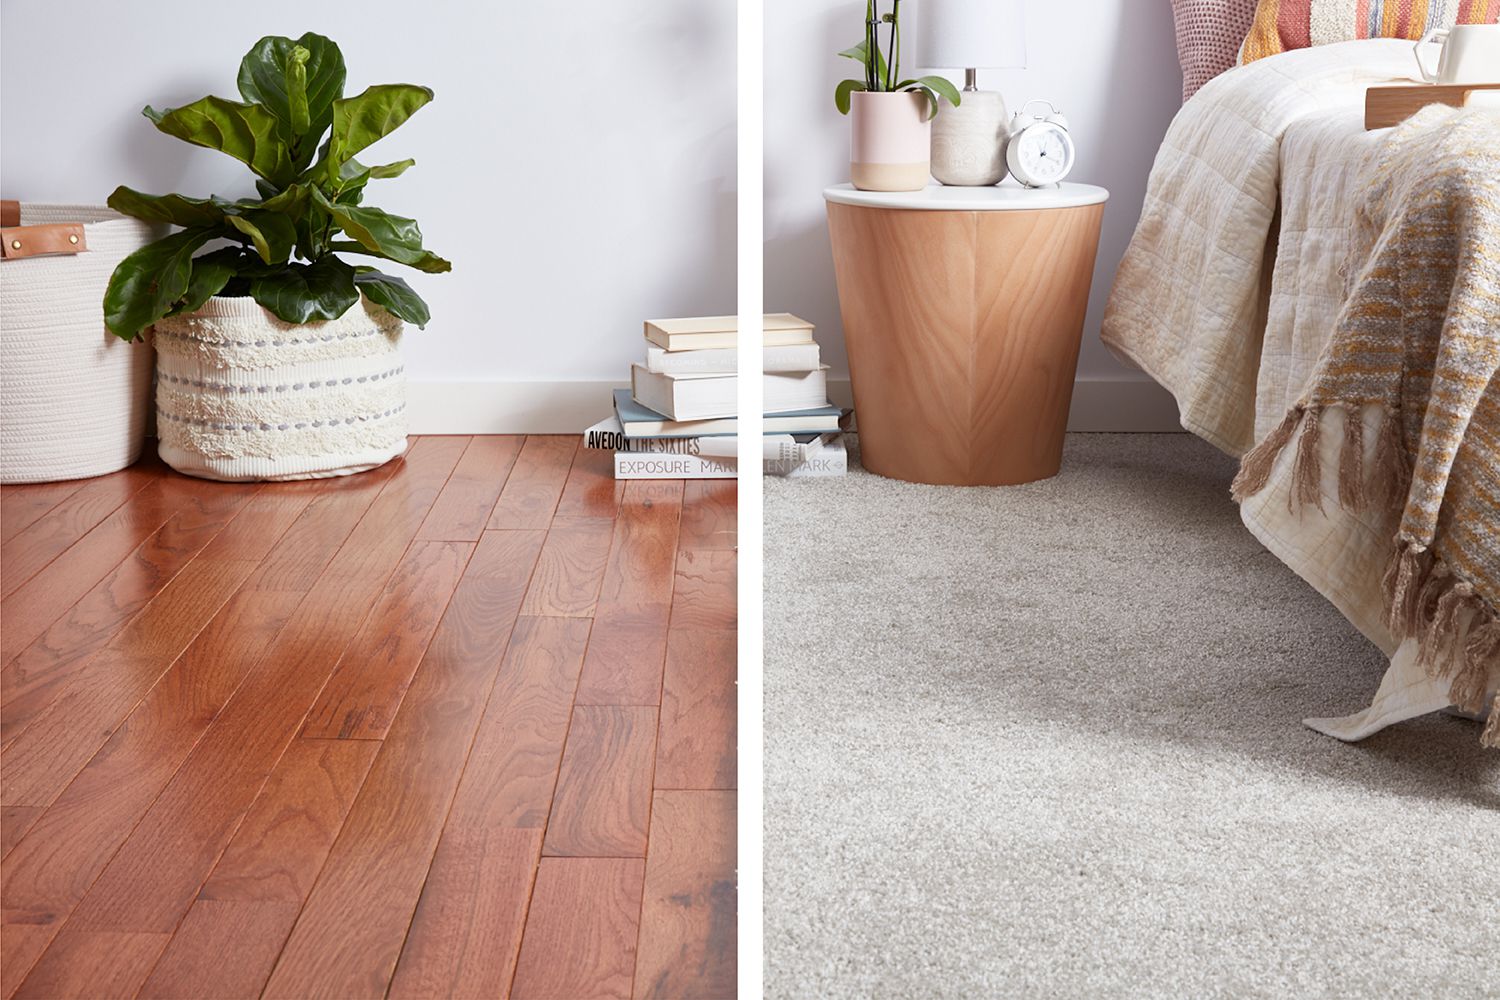
Also Read: Carpet or Timber Flooring: Which One Is Better For A Bedroom Space?